Start here
Quickstart
This walks an empty account all the way to automated tests running on your machine. Ten minutes if you already have Node installed.
Part 1: Get your first tests written#
- 1
Create a project
Go to Organization → Projects and create one. A project is the container for everything else, and nothing can be created until one exists. See Projects. - 2
Create a root folder
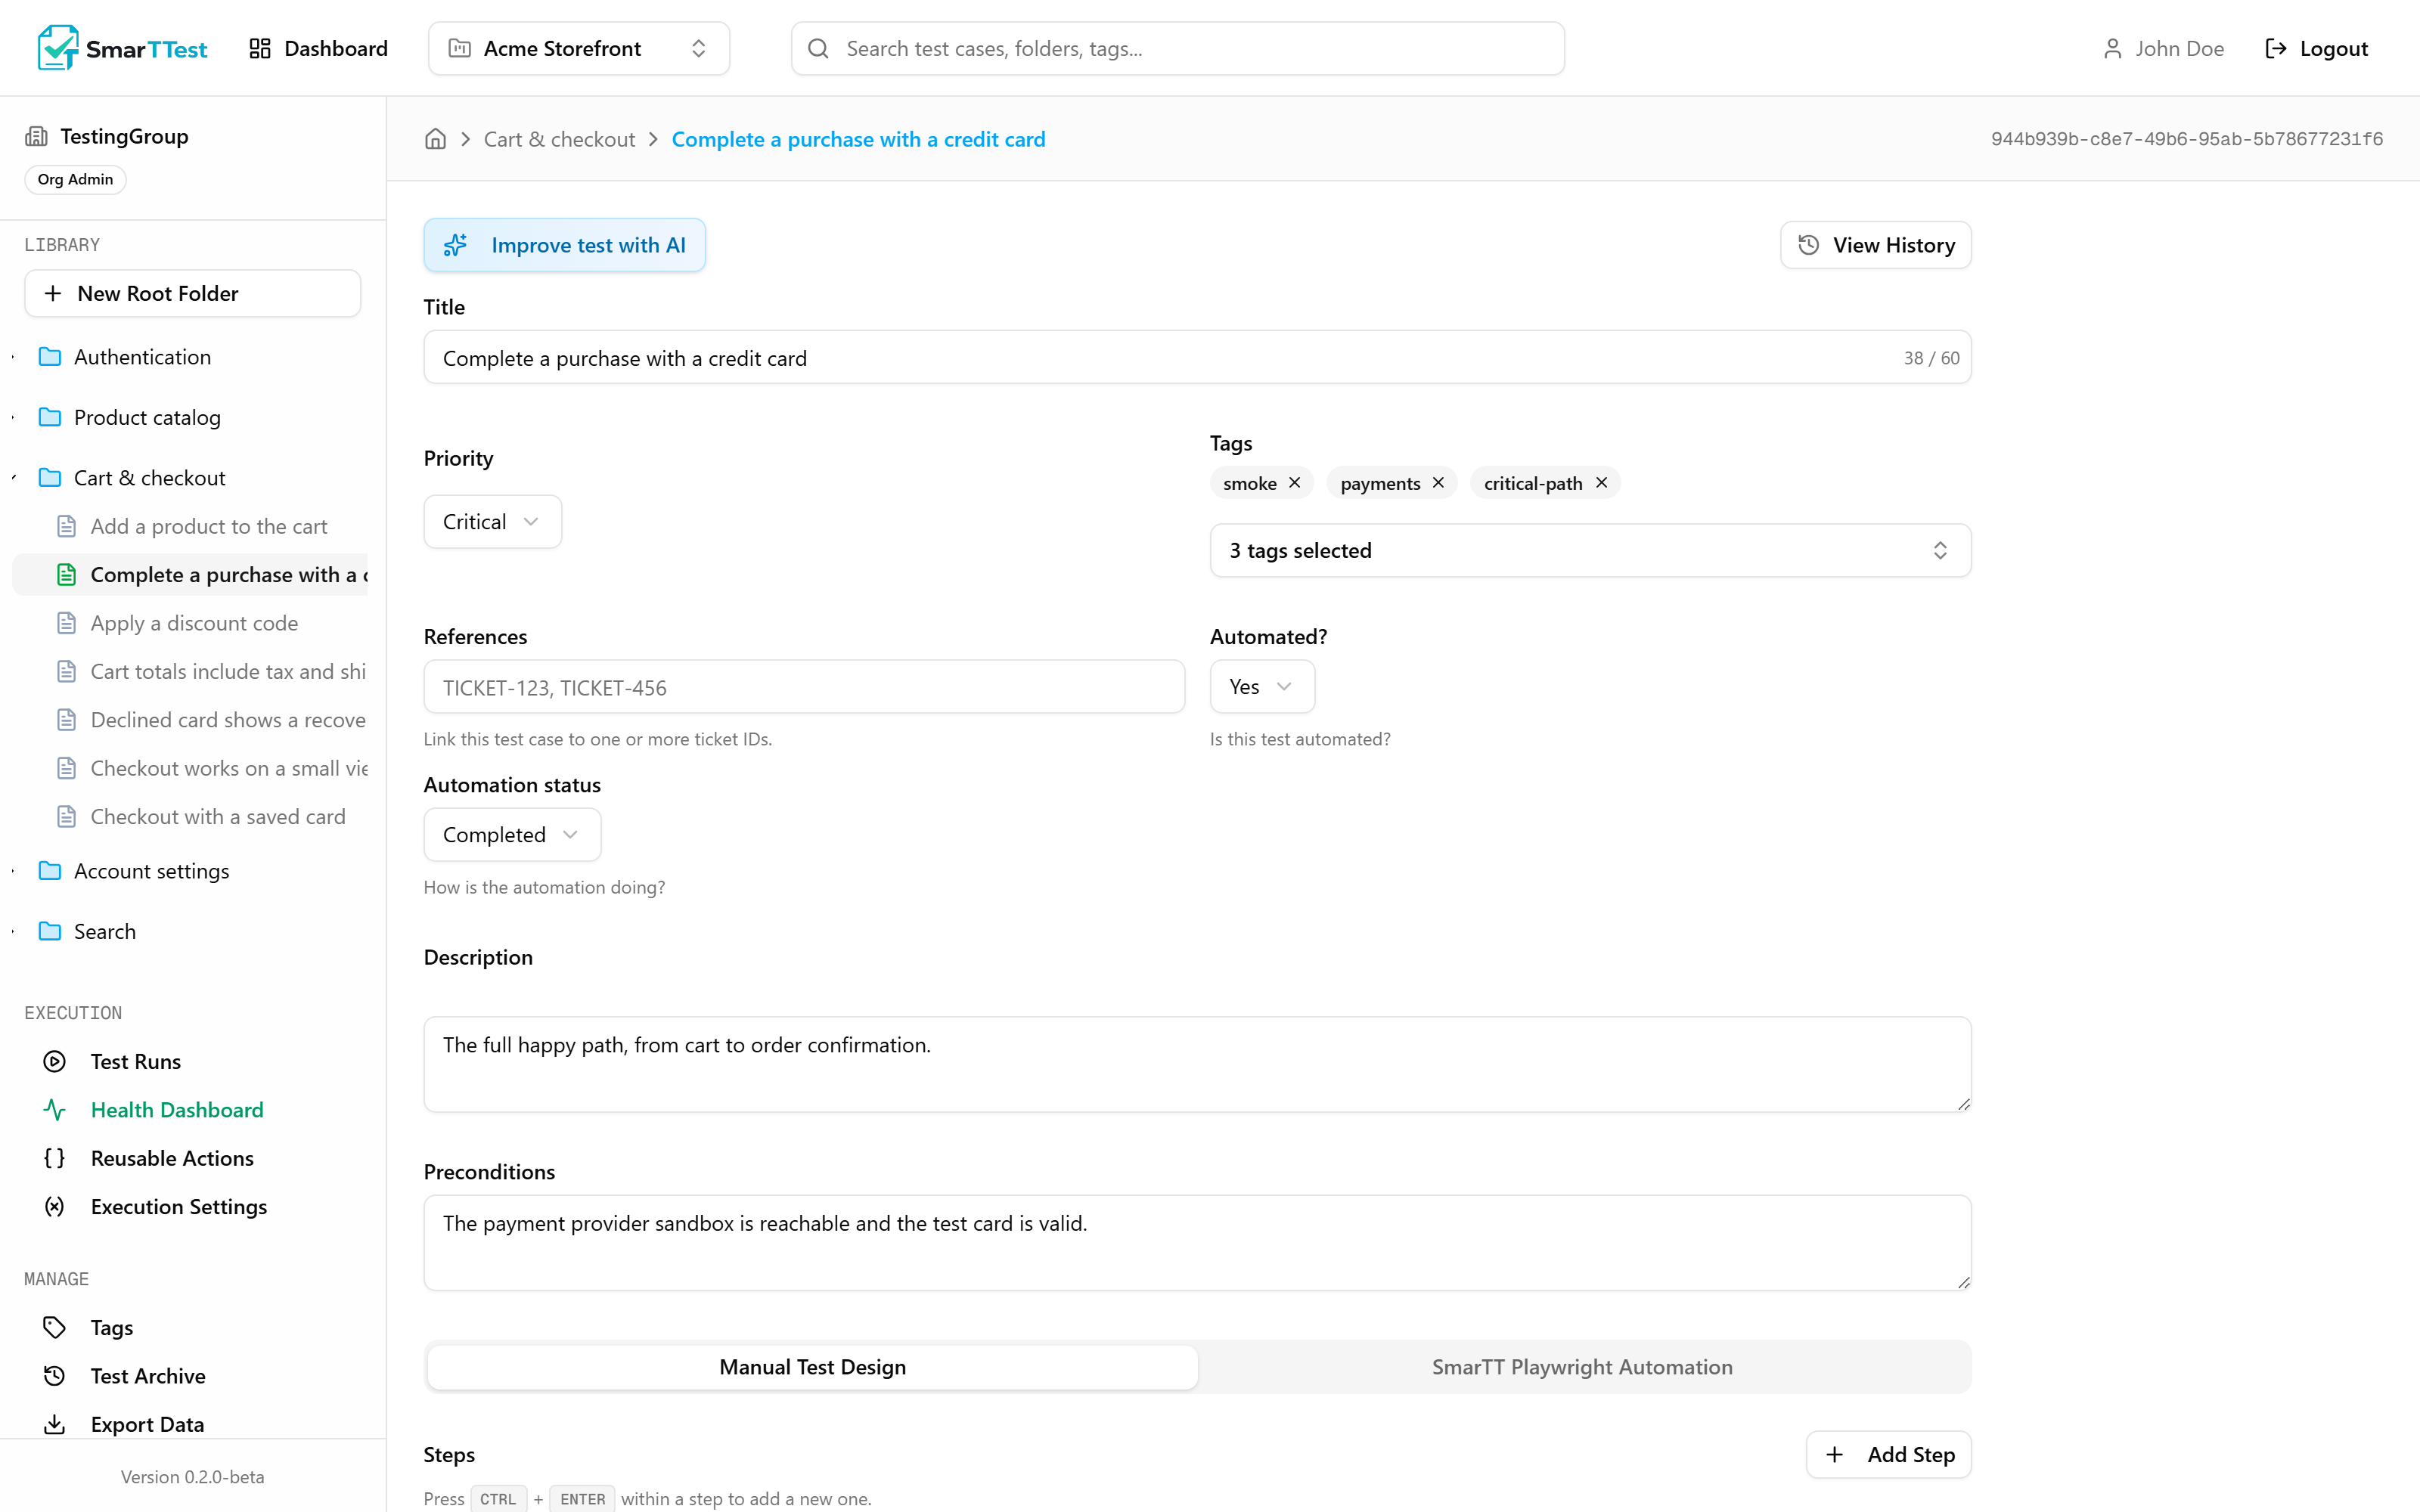
In the sidebar, New Root Folder. Folders are how tests are organized. One per feature area is a good default. You can nest them as deep as you need. - 3
Create a test
Open the folder and add a test. Give it a title, a priority, and the steps a person would follow. You do not need automation yet; a written test is already useful on its own. See Tests. - 4
Tag it
Add a tag likesmokeorcheckout. Tags cut across folders, which is what makes it possible to build a run out of "everything smoke" later. See Tags.
Part 2: Tell SmarTTest about your app#
Before anything can be executed, SmarTTest needs to know where to execute it and with what. An environment is exactly that: a named set of values, such as the URL to open and the account to log in with. The same test then runs against staging or production without being rewritten.
- 1
Create an environment
Execution Settings → Environments. Name it after the target, likeStaging. - 2
Add the variables it needs
ABASE_URLat minimum. Credentials go in as secret variables, which are stored encrypted and never displayed again. See Execution Settings.
Tip
Part 3: Connect a machine that can run browsers#
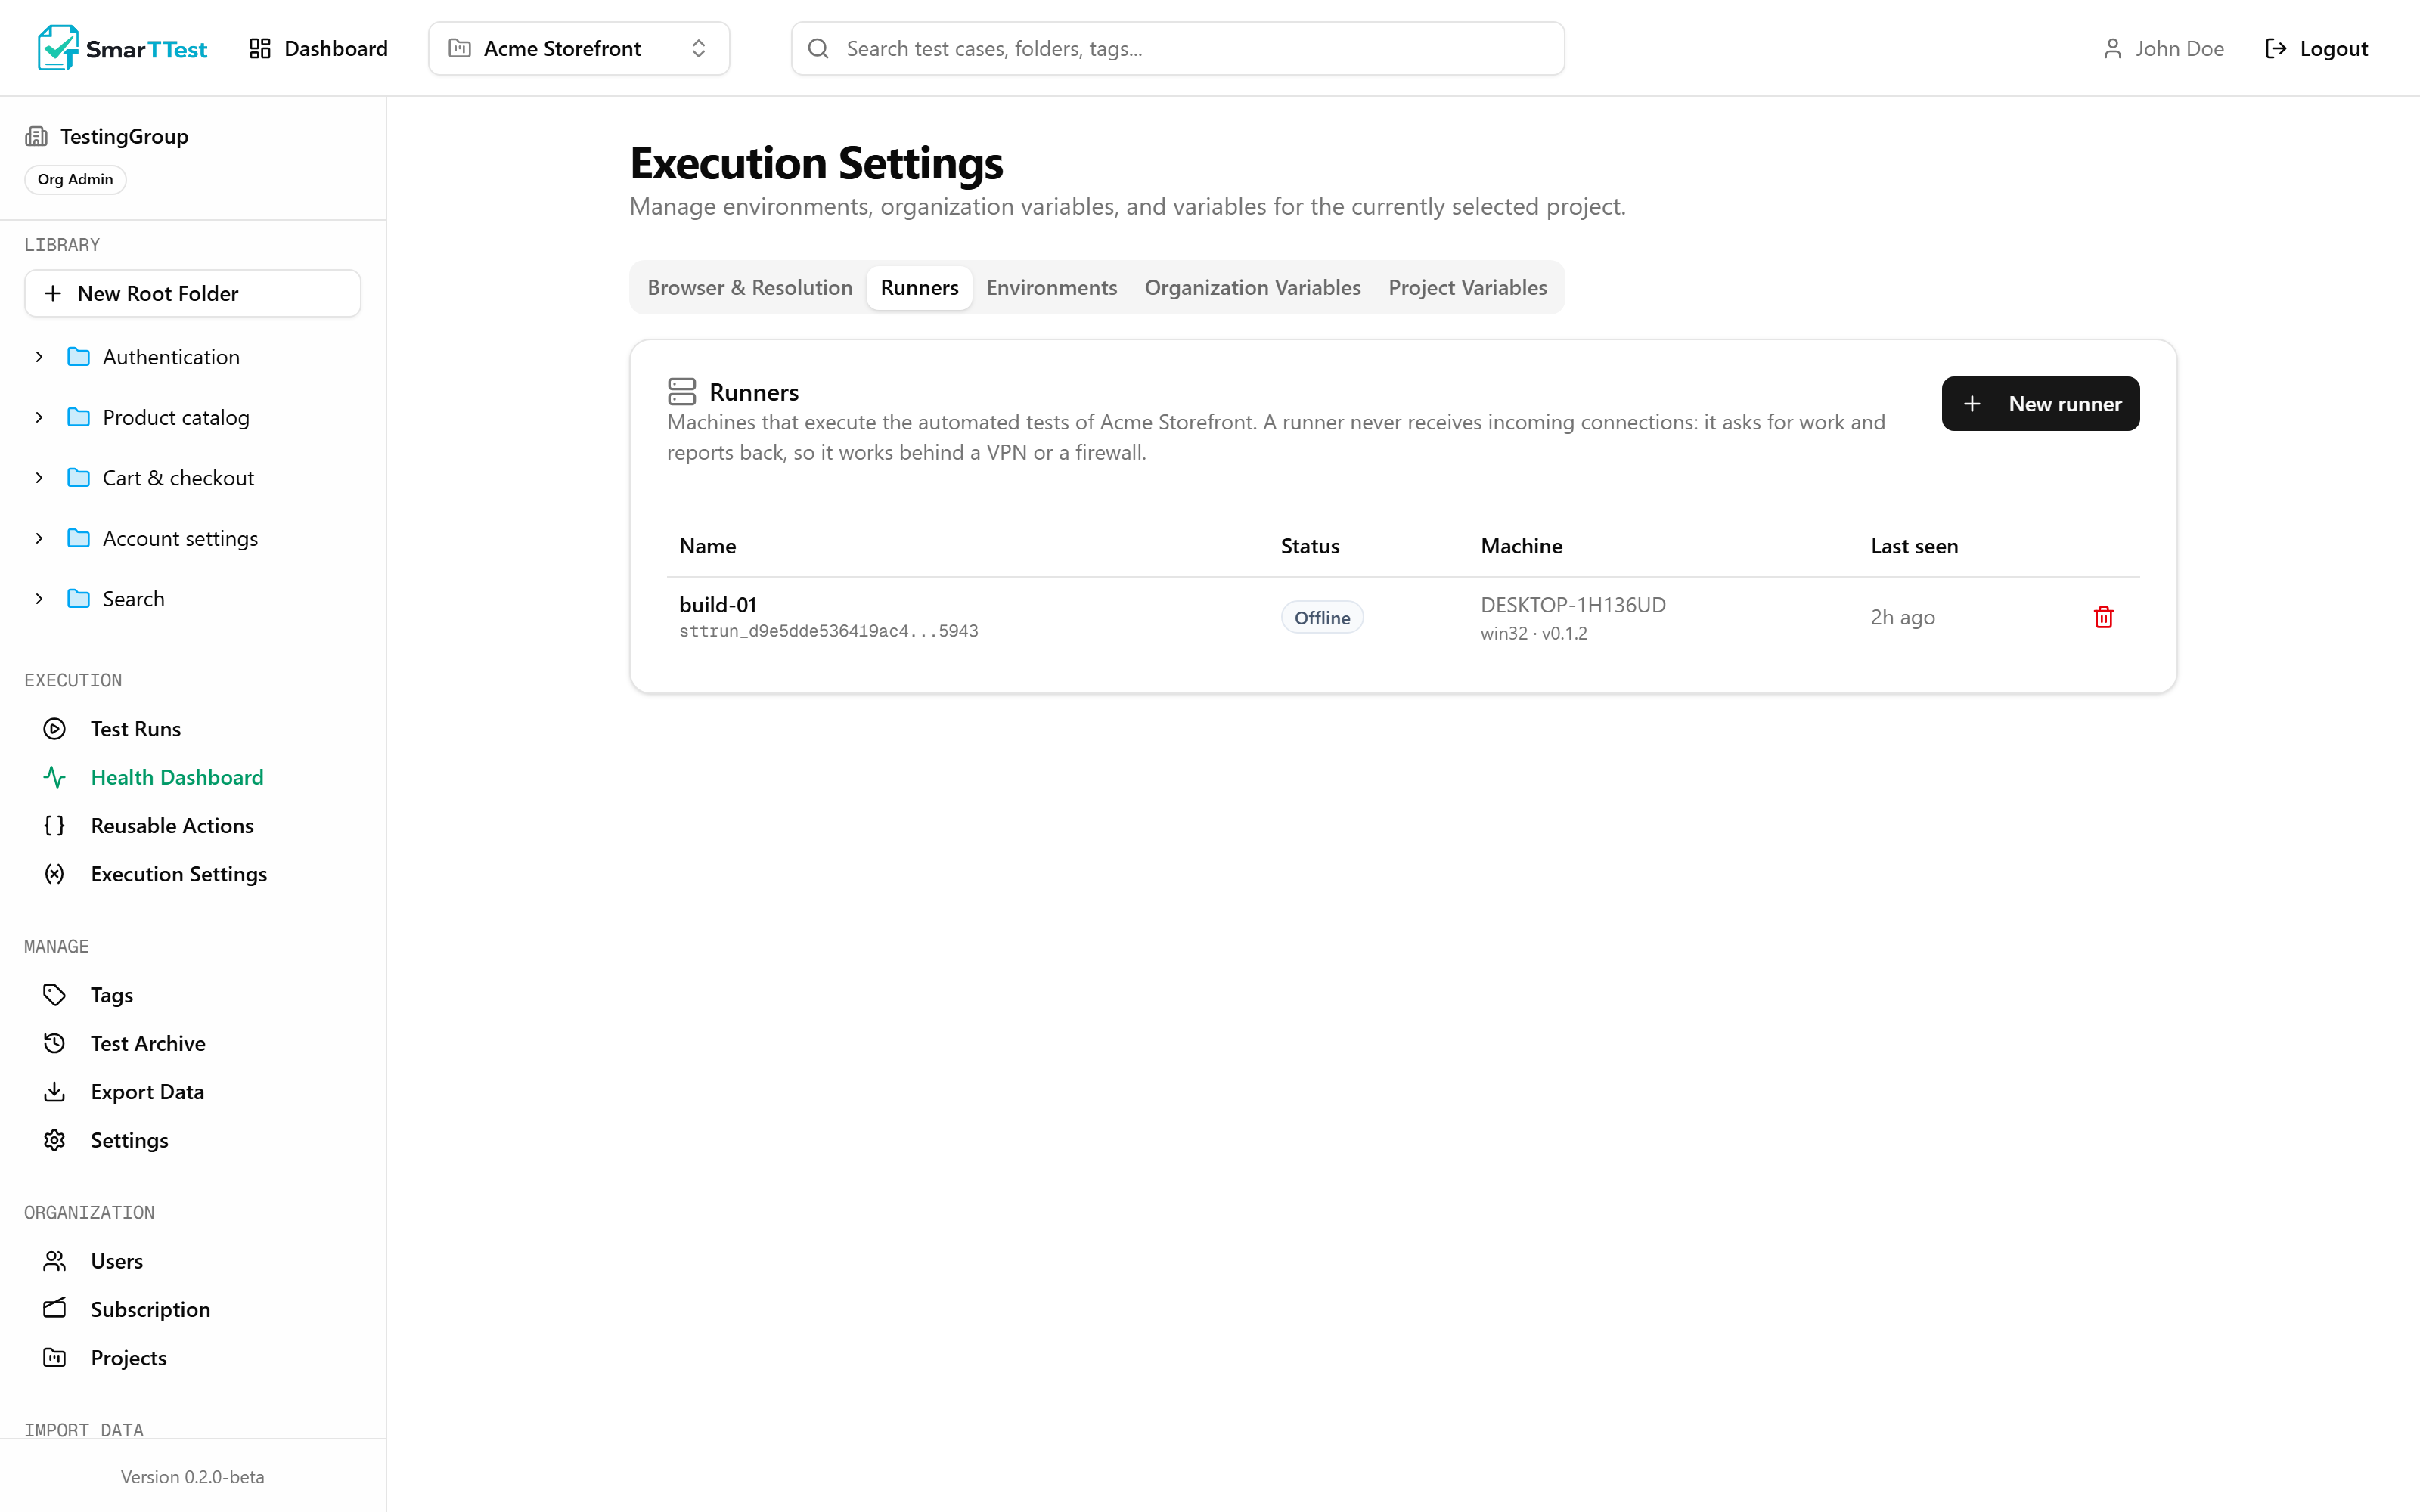
Automated tests run on a runner: a small program you install on a machine you control, which is where the browser actually opens. It asks SmarTTest for work and reports the results back, so it works fine behind a VPN or a corporate firewall.
SmarTTest Cloud, coming soon
- 1
Create a runner in the app
Execution Settings → Runners → New runner. You get a token, shown once. Copy it. - 2
Install the CLI on that machine
Node 18 or newer. If you would rather not install it globally, every command below also works withterminalnpm install -g @smarttest/runnernpx @smarttest/runner. - 3
Connect it to your account
The second command downloads the browser and the video encoder the runner needs.terminalsmarttest-runner login --token <your-token> smarttest-runner install - 4
Start it
It now shows as Online in the app and will pick up any work you send it. Full details in SmarTT Runner CLI.terminalsmarttest-runner start
Part 4: Automate a test#
Automation is a plan attached to the test: an ordered list of browser commands. You can write it by hand, but the intended path is to let an AI agent do it, because the agent can read the test, write the plan, execute it, see what broke, and fix it, without you translating between the two.
- 1
Connect the MCP server
This is what gives your agent access to SmarTTest. Setup for both the remote and local options is in SmarTT MCP. - 2
Ask the agent to automate the test
It reads the written steps and turns them into an automation plan. It can then runanalyze_test_qualityto score its own work and fix what the scorecard flags.
You do not have to automate everything
No, Impossible, or Discarded instead of Yes. The last two ask for a reason, which is what keeps "why isn't this automated?" answerable a year later.Part 5: Execute a run#
- 1
Create a run
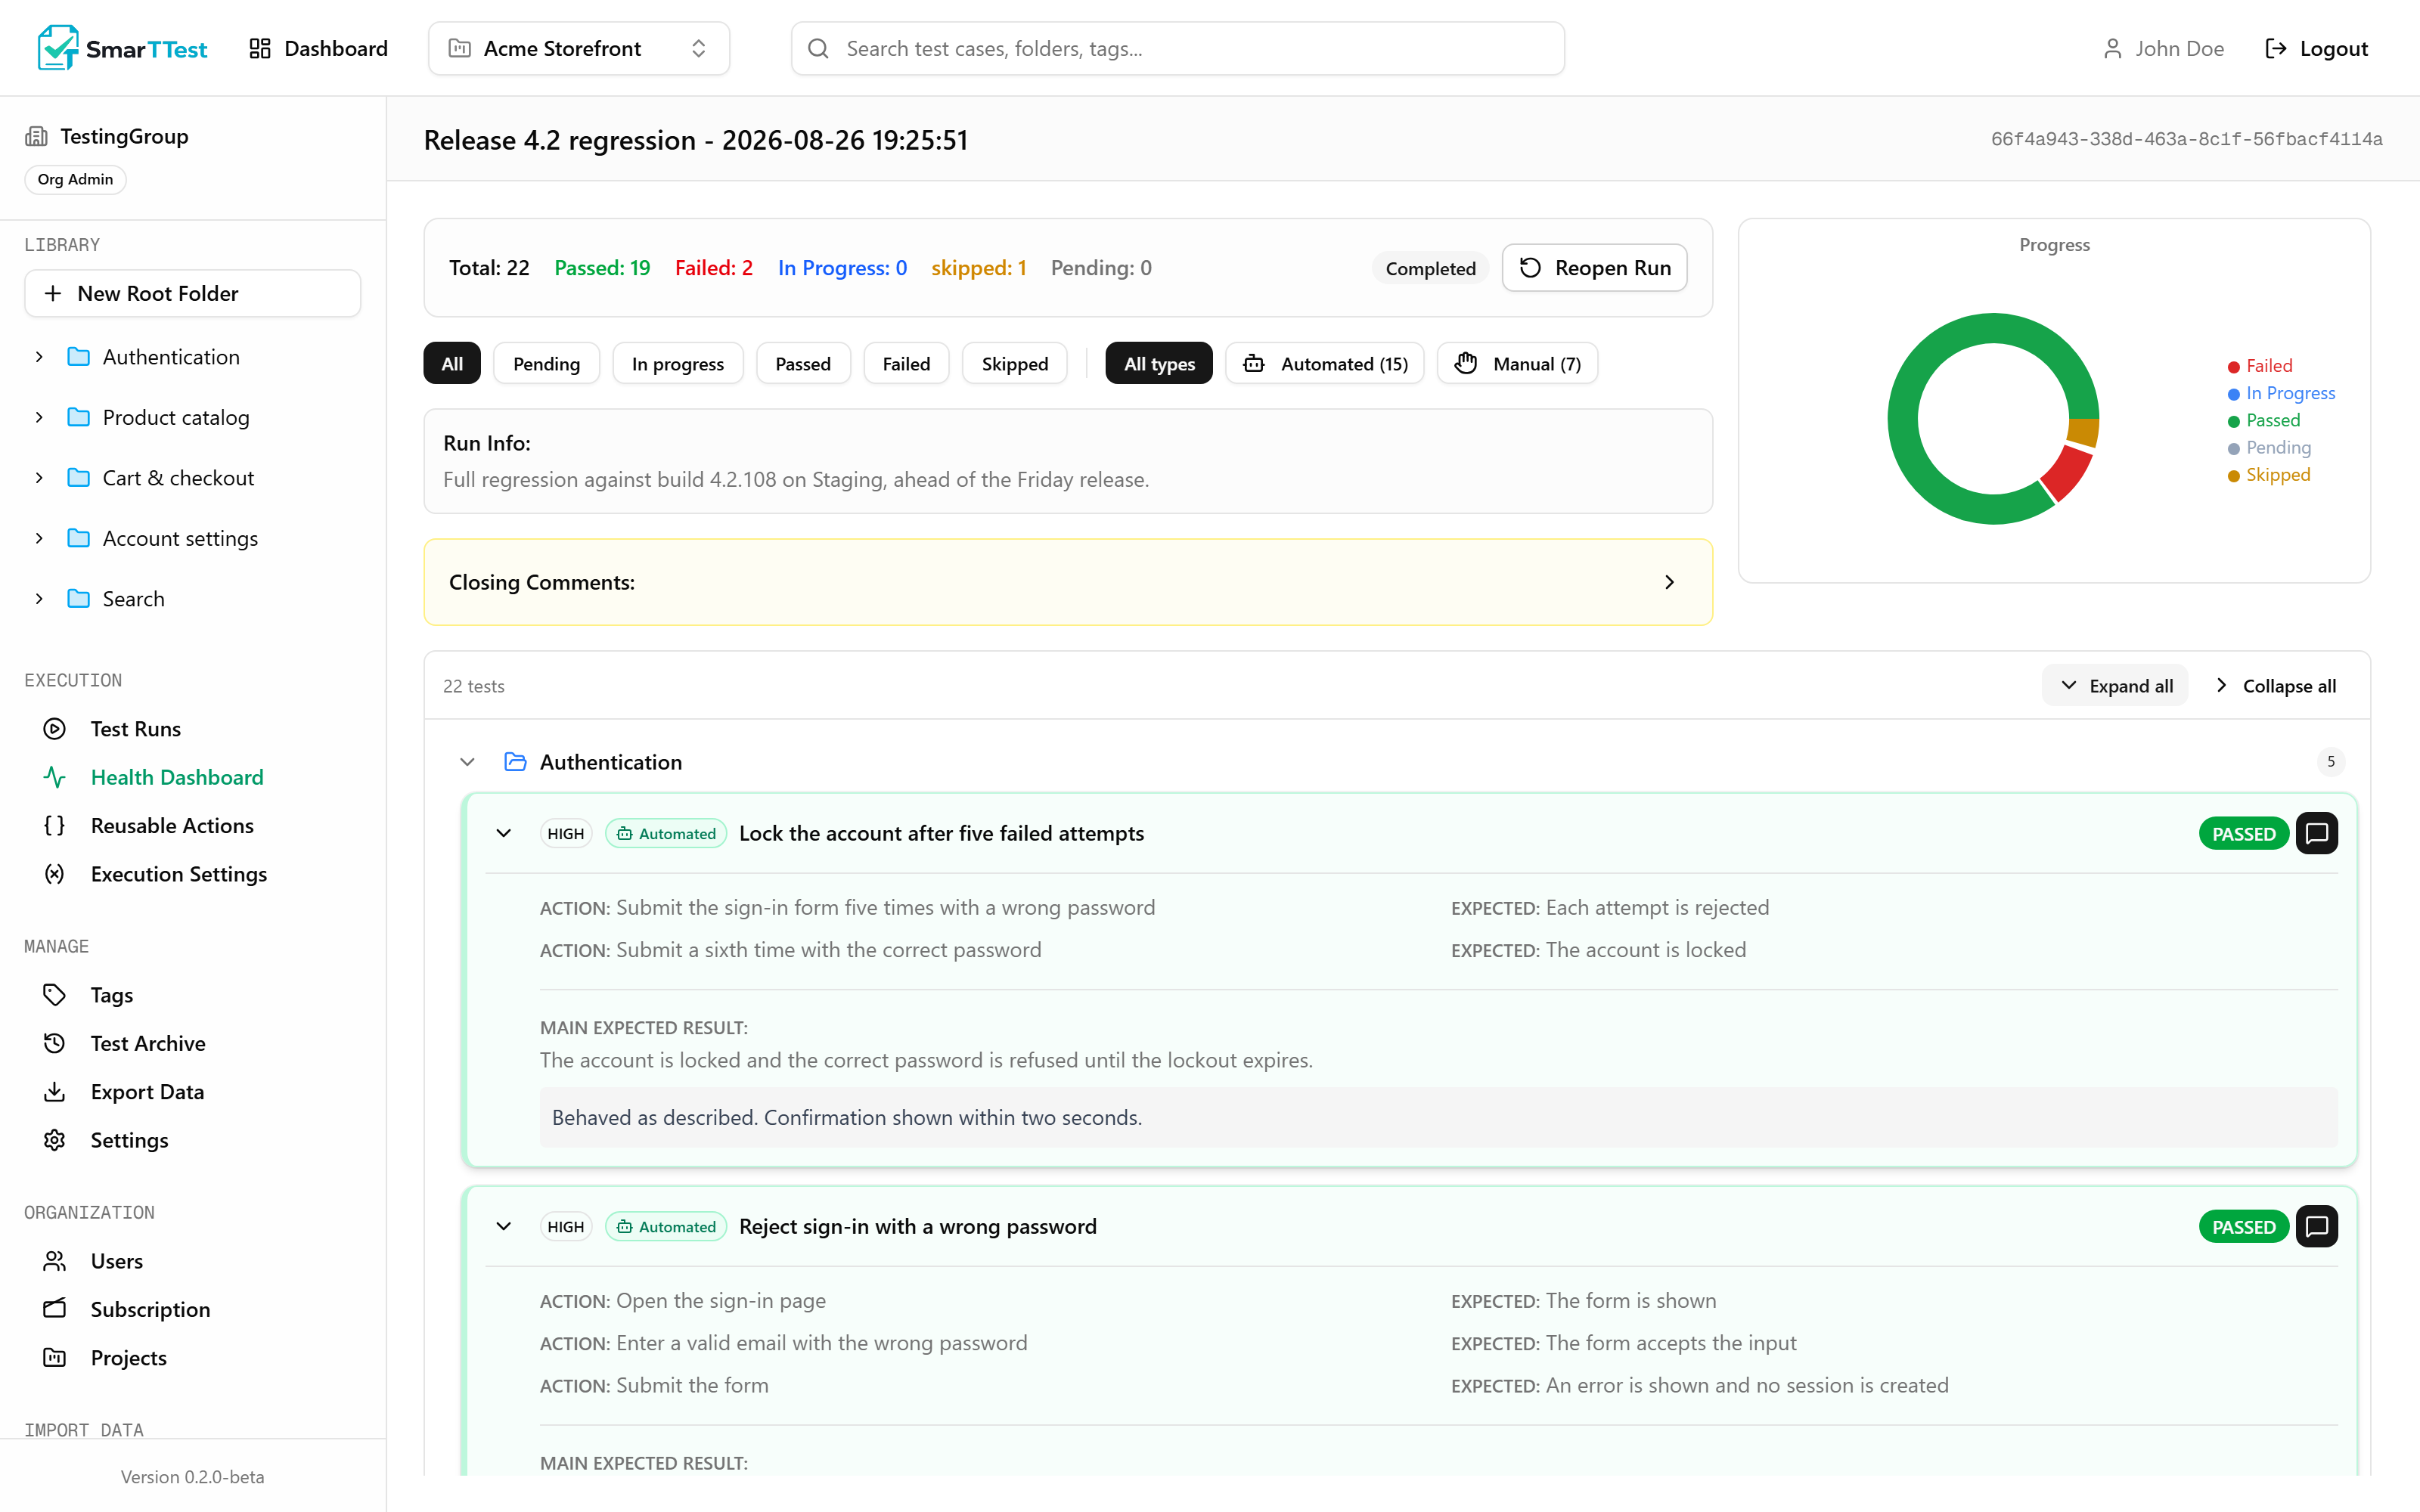
Test Runs → New run. Scope it to folders, tags, or hand-picked tests. See Test Runs. - 2
Send the automated tests to your runner
Open the run and press SmarTT Execute. Pick the runner and the environment, choose how many tests run at once, and queue it. Manual tests are skipped and stay yours to fill in. - 3
Watch results land
The run updates as each test finishes, with a recording attached to every automated result. - 4
Close the run
When everything has a result, close it with a final comment. That freezes it and generates the summary.
What to read next#
- Tests: the automation plan in detail, and the Quality Engine.
- Execution Settings: variables, secrets, and how they resolve.
- MCP tool reference: every tool an agent can call.